Better Call HAMMOND!
Request Service. Use the form below or call (770) 227-5325 today!


Our Services
Heat pumps and forced air furnaces are quite reliable, but even they can suffer breakdowns. Make sure you call Hammond to take care of all of your heating needs.
Our plumbing services to you are second to none. We provide the most professional work on pipes, water heaters, and gas lines throughout the area.
Your clogged drain is no match for us. We use top-of-the-line equipment to clear any drain clog and repair sewer line without you having to wait long.
Improve the air within your home, so you and your family will breathe better. With Hammond Services, your satisfaction is 100 percent guaranteed!

Proudly Serving South Metro and West Metro Atlanta Since 1979
As a family-owned and operated business, Hammond Services has worked for 40+ years to deliver quality South Metro Atlanta HVAC services to our community. You can always count on our staff to be prompt and professional and complete any job correctly the first time. Whether you need Residential or Commercial Electrical Repairs, Heating Installations, A/C Maintenance, or Drain and Sewer Line Cleaning, we can handle it all!
Hammond Services is your one-stop-shop for all things heating, A/C, plumbing, and electrical. Give us a call 24 hours a day, 7 days a week at (770) 227-5325 . We will be there to take your call whenever you need us!
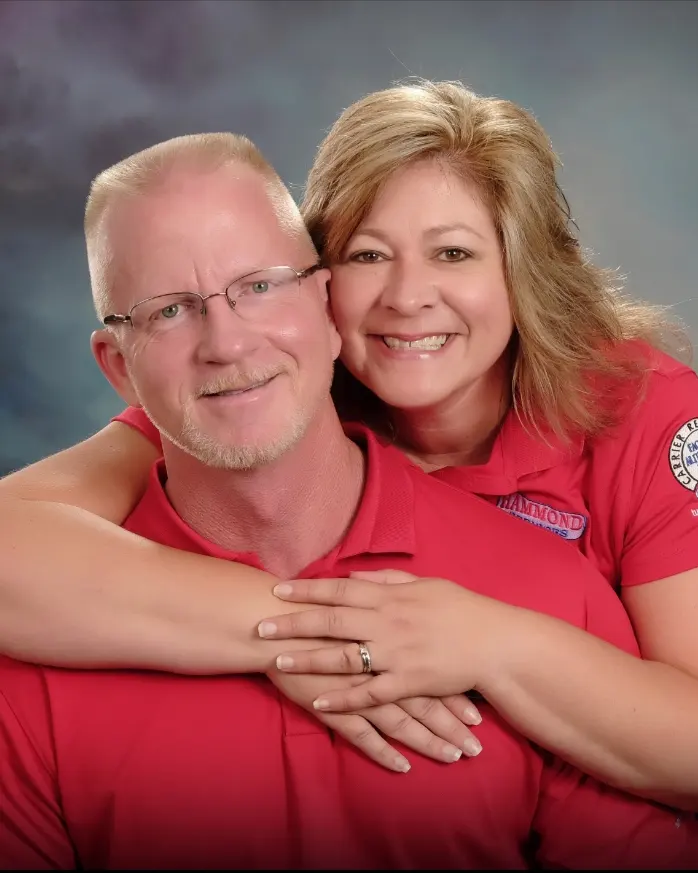
Meet the Founders

Special Offers

$150 Off
Take $150 off a sewer line replacement from Hammond Services. Not to be combined with any other offers.
Call Today (770) 762-5347
$200 Off
Get your $200 off a new tank water heater from Hammond Services. Not to be combined with any other offers.
Call Today (770) 762-5347
$150 Off
Take $150 off a whole house re-pipe from Hammond Services. Not to be combined with any other offers.
Call Today (770) 762-5347
Save $1,400
Save up to $1,400 in rebated and enjoy No Payments and No Interest for 12 months with approved financing. Offer for Lennox systems only from 3/1/2026 – 6/12/2026.
Call Today (770) 762-5347
Why Choose Us
Our staff is composed of a variety of specialists, including plumbers, electricians and HVAC technicians.
Our phone lines are open to you 24 hours a day, 7 days a week and 365 days a year. We know things never break when it’s convenient for you, so we make sure we’re always here to answer your call.
These days, you can't trust just anyone. You need to know the person you're hiring has the skills, abilities, and coverage required to get the job done right. Here at Hammond Services we are fully licensed, bonded and insured.
We offer affordable services backed by quality craftsmanship and make financing easy for approval!
Frequently Asked Questions
What services does Hammond Services offer?
Complete HVAC, plumbing, and electrical service — heating & cooling, water heaters, drain & sewer cleaning, gas lines, electrical repairs, and indoor air quality.
What areas do you serve?
South & West Metro Atlanta from our Griffin, Newnan, Stockbridge, and Austell offices — including Peachtree City, Fayetteville, McDonough, and more.
Do you offer 24/7 emergency service?
Yes. We're available around the clock for HVAC, plumbing, and electrical emergencies — when it can't wait, our team is here to help.
How long have you been in business?
We're a family-owned company serving the Atlanta area since 1979 — decades of prompt, quality workmanship from licensed technicians.